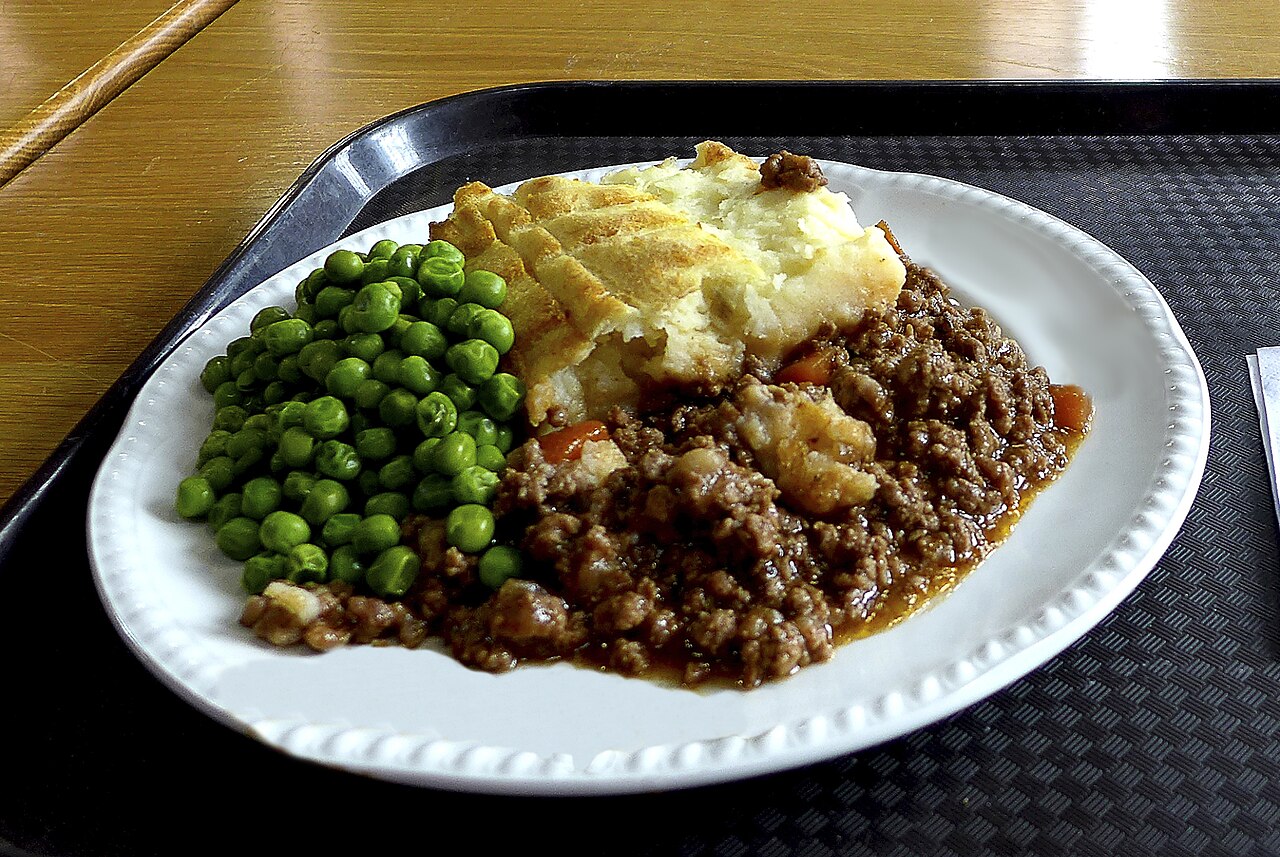
Unlock the Secrets to the Ultimate Shepherd's Pie Experience
Few dishes evoke the warmth and nostalgia quite like a perfectly crafted shepherds pie. It’s a quintessential comfort food, a hearty casserole that transports you straight to cherished family meals, reminiscent of a grandmother's cozy kitchen. The anticipation of that golden-brown crust emerging from the oven, promising a rich, savory filling beneath, is a memory etched deep in the hearts of many. But what truly elevates a good shepherds pie to a great one? The answer lies in mastering two critical elements: achieving a delightfully crispy, golden topping and ensuring a succulent, moist filling.
This comprehensive guide will unravel the techniques and subtle nuances that transform simple ingredients into an extraordinary culinary experience. We'll delve into the foundational steps, from building a robust flavor base for your meat filling to crafting the ideal mashed potato topping that achieves that coveted crunchy crust. Prepare to bake a shepherds pie that will be remembered long after the last bite.
Building the Foundation: A Flavorful and Moist Filling
The heart of any exceptional shepherds pie lies in its filling. It needs to be rich, deeply flavored, and importantly, moist, to balance the creamy potato topping. Our journey to perfection begins with thoughtful ingredient selection and preparation.
Starting with Savory Depth: Bacon and Beef
While many recipes jump straight to ground beef, a secret weapon for an unparalleled flavor profile is the humble bacon. Not only does it add a smoky, savory dimension, but the rendered fat provides an incredible base for cooking your beef.
- The Bacon Advantage: Begin by dicing 6 slices of maple bacon into small pieces. Maple bacon, with its hint of sweetness, adds a unique depth, but any good quality streaky bacon will do. Fry these pieces in a medium skillet over low heat until they're slightly browned but not overly crispy. This gentle rendering extracts maximum flavor from the fat. Once cooked, remove the bacon and set it aside – it will be folded into the filling later, providing delightful texture and bursts of flavor. Crucially, leave the rendered bacon fat in the skillet. This golden elixir is pure flavor gold!
- The Lean Ground Beef: In the same skillet, introduce 1 pound of lean ground beef and a diced sweet onion. Using the bacon fat to cook the beef and onion imparts an immediate layer of complexity. Break up the beef with a spoon as it cooks, ensuring it browns evenly and loses all its pinkness. The sweet onion will soften and caramelize slightly, adding another layer of sweetness and aroma. Once cooked, it's essential to drain off any significant excess grease. While the bacon fat adds flavor, too much beef fat can make the filling greasy, not moist.
Assembling the Irresistible Filling
With your meat base prepared, it's time to bring all the elements of the filling together in a large casserole dish (approximately 9x13 inches is ideal). This stage is about combining textures and flavors to create a harmonious blend.
- The Flavor Infusion: Combine the cooked ground beef and onion mixture with the reserved cooked bacon. Add one can of drained corn – its sweetness and pop of color are perfect companions. Then, introduce 2 tablespoons of minced garlic and 2 tablespoons of Italian seasoning. These aromatics and herbs are the backbone of the savory profile, ensuring every bite is packed with flavor. Mix everything thoroughly to ensure an even distribution.
- The Moisture Secret: Here's a critical step for a moist filling: pour 1 cup of chicken stock over the meat mixture. This liquid is key. It prevents the filling from drying out during baking, allowing the flavors to meld beautifully and creating a succulent, tender base.
- Initial Bake for Flavor Melding: Cover the casserole dish tightly with aluminum foil and bake it in a preheated oven at 350ºF (175ºC) for 30 minutes. This initial covered bake is crucial for two reasons: it allows the chicken stock to permeate the meat and vegetables, keeping them incredibly moist, and it gives all the flavors time to marry and deepen.
Crafting the Perfect Potato Topping for a Crispy Crust
The crowning glory of any shepherds pie is its mashed potato topping. Achieving that coveted golden-brown, slightly crispy crust while maintaining a creamy texture underneath is an art. Here’s how to master it.
Preparing the Ideal Mash
While your filling is baking, turn your attention to the potatoes. The type of potato and how you prepare it makes all the difference.
- Potato Choice & Prep: For a robust and flavorful mash, use 8 medium red potatoes. A fantastic tip for added nutrients, texture, and saving time is to leave the skins on! Simply cut the potatoes into roughly uniform chunks.
- Boiling to Perfection: Place the potato chunks in a large pot, cover them with cold water, and bring to a boil. Cook until the potatoes are fork-tender, typically 15-20 minutes. They should be easily pierced with a fork but not falling apart. Over-boiling can lead to a watery mash.
- Flavoring and Mashing: Drain the potatoes thoroughly and return them to the warm pot. Add 2 tablespoons of butter, ¼ cup of milk, 2 tablespoons of Italian seasoning, 1 tablespoon of minced garlic, and 1 tablespoon of celery salt. The celery salt is a subtle but powerful addition, enhancing the savory notes. Mash the potatoes with a potato masher until they are well blended and creamy. The key is to avoid over-mashing, as this can break down the starch too much and result in a gummy, unpleasant texture. Aim for smooth with a few rustic lumps for character.
The Secret to that Crispy Top
This is where the magic happens, transforming your creamy mash into a delightful, golden crust.
- Retrieve the Filling: After the meat filling has baked for 30 minutes, carefully remove the casserole dish from the oven and discard the foil.
- Apply the Topping: Generously spread the mashed potato mixture evenly over the meat filling. Use the back of a spoon or a spatula to get an even layer.
- Create Peaks and Swirls: This is the crucial step for crispiness! For a beautiful, rustic presentation and to maximize the crispy bits, use a fork to create peaks, swirls, and ridges across the entire surface of the mashed potatoes. These uneven surfaces will catch the heat more effectively, caramelizing and browning more readily during the final bake.
- The Final Uncovered Bake: Return the casserole dish to the oven, now uncovered, and bake for an additional 20-25 minutes, or until the potato topping is gloriously golden brown and slightly crispy around the edges and on those beautiful peaks. Keep a close eye on it during these last few minutes, as ovens can vary. If you desire an extra-crispy, deep golden finish, you can carefully turn on the broiler for the last 1-2 minutes, but watch it constantly to prevent burning.
Tips for Shepherd's Pie Perfection
- Meat Variations: While ground beef is popular, traditional shepherd's pie often features ground lamb, which lends a distinct, rich flavor. For those curious about the traditional choice of meat, exploring the nuances between lamb and beef is fascinating. Discover more in our article: Traditional Shepherd's Pie: Ground Lamb vs. Beef Explained.
- Vegetable Boost: Feel free to add other vegetables to your filling, such as finely diced carrots, peas, or even mushrooms, for added nutrition and flavor complexity.
- Cheesy Topping: For an extra layer of flavor and even more crispiness, sprinkle a cup of shredded cheddar or Gruyere cheese over the mashed potatoes before the final uncovered bake. It melts into a gooey, savory crust.
- Make-Ahead & Freezing: Shepherd's pie is a fantastic make-ahead meal. You can assemble the entire dish, cover it tightly, and refrigerate for up to 2 days before baking. For longer storage, freeze the unbaked pie for up to 3 months. Thaw in the refrigerator overnight before baking as directed, adding an extra 15-20 minutes to the covered baking time.
- Serving Suggestions: Allow the pie to rest for 10-15 minutes after baking before serving. This helps the filling set and makes for easier, cleaner portions. Serve with a simple green salad or some crusty bread.
The aroma of a freshly baked shepherds pie, with its promise of a crispy top and moist, flavorful filling, is truly one of life's simple pleasures. By following these steps and incorporating these valuable tips, you're not just making a meal; you're crafting a memory. This isn't just a recipe; it's an invitation to create a dish that embodies comfort, flavor, and culinary satisfaction. If you're looking for another cherished take on this classic, delve into Craft the Tastiest Shepherd's Pie: Grandma's Comfort Recipe for more inspiration and heartwarming variations.
